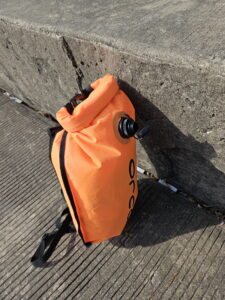
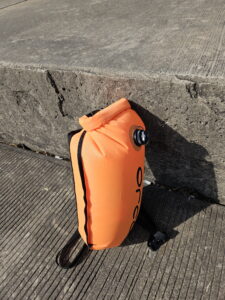
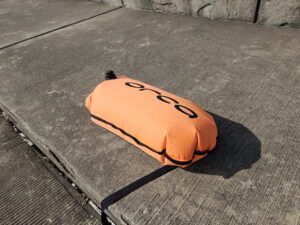
If you correctly close an open water swim buoy storage bag (dry bag) it keeps the dry bag dry, and keeps the buoy buoyant. Ensure you get the most out of your open water swim, maintain a secure safe place to rest and recover in open water swimming conditions that are rough, have a welcome dry towel and change of dry clothes when leaving chilly open water swimming temperatures behind, and all the other
good things about using an open water buoy.
.
How to Securely Close an Open Water Swim Buoy
.
.
.
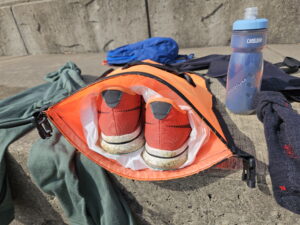
2. Load items in the dry bag.
.
.
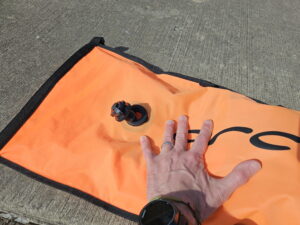
3. Try to remove most excess air from the dry bag. Rolling the excess air out of the dry bag is an imperfect process, especially when carrying shoes and other large or rigid items. Do the best you can. Buoyancy should come from the air in the bladder, not air inside the dry bag. Excess air in the dry bag will push against the folded closure strip, particularly if the dry bag is heavily loaded and/or when the swimmer pushes the bag under the surface of the water (for moments of rest and relax, sitting on the open water swim buoy to take photos, etc.). Air leaking out = water leaking into the dry bag.
.
.
4. Close the dry bag by ensuring that 4 full 180 degree turns of the sealing surface are possible. It’s ideal to fold toward the inflation valve to ensure for the best access to the valve. If only 3 turns are possible, consider repacking the dry bag, removing something, or preparing for wet items inside.
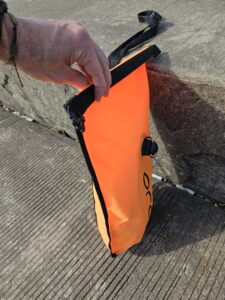
First Fold
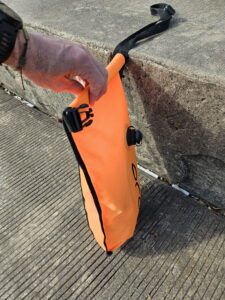
Second Fold
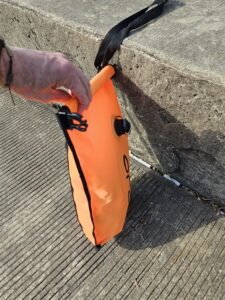
Third Fold
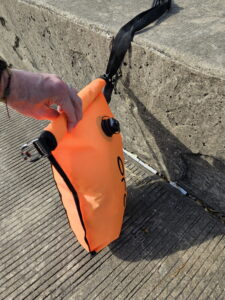
Fourth Fold Complete
.
5. Close the plastic buckle. If the folds were turned toward the inflation valve, then the buckle can be snapped away from the valve side to minimize interference with the valves while inflating or re-inflating.
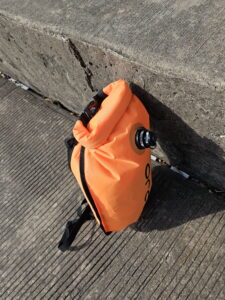
.
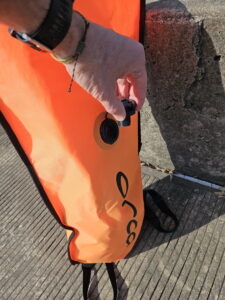
6. Inflate the bladder, then close the valve.
.
.
7. Re-inflate as needed in the water as contents settle and compress.


